Christmas with DIY decorations – 3 video tutorials from Colorland!
by Annalisa, 11 Dec 2018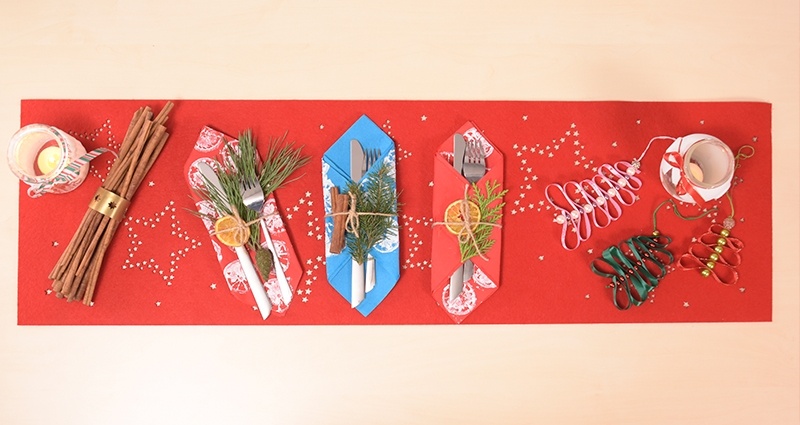
Christmas is coming soon! Can you feel it in the air? It’s time to think about Christmas decorations! And speaking of them… as you already know, Colorland supports the idea of DIY projects so this year we have prepared for you a series of 3 video tutorials in which we are going to show you our inspirations for Christmas decorations! We hope you have already seen the first video on our FB profile but stay with us to see all of them! Let us know if you like them!
1. Christmas cutlery pockets
What do you need?
- solid colour napkins
- dried orange or lemon slices
- a paintbrush
- a jar with water
- paper towels
- white acrylic paint
- cinnamon sticks
- some jute (linen strip)
- thuja, spruce or pine twigs
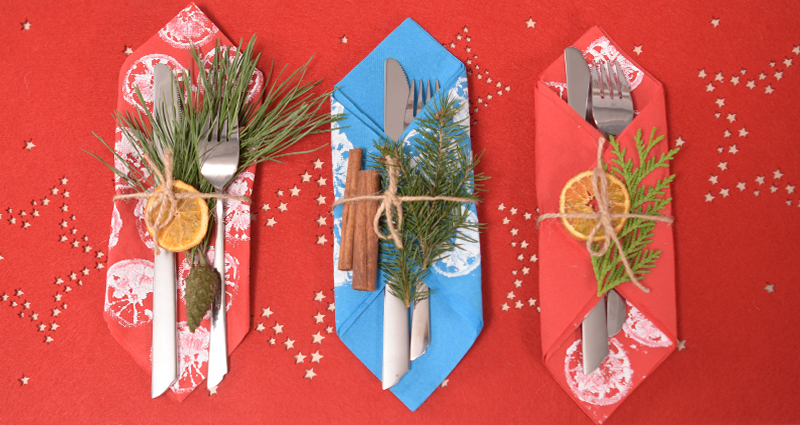
How to make Christmas cutlery pockets?
1. Prepare napkins you would like to decorate.
2. Squeeze some acrylic paint on a paper towel and paint a dried orange slice with a small paintbrush.
3. Stamp a napkin with the painted orange.
4. Repeat this until you entirely decorate 3 napkins.
5. Wait for the paint to dry.
6. Be careful not to stain the reverse side of the napkin. To avoid this, it's worth putting another napkin of the same colour under it.
7. Place cutlery inside the napkins - there are several ways to do it.
8. Tie the cutlery sets in the napkins with a jute string.
9. Decorate it with dried orange, cinnamon sticks and green twigs.
10. Your decorative cutlery pockets are ready!
2. Snowy Christmas lantern
What do you need?
- a (decorative) jar
- white acrylic paint
- a kitchen sponge
- a painting masking tape
- paper towels
- a pair of scissors
- a decorative ribbon
- a tealight candle
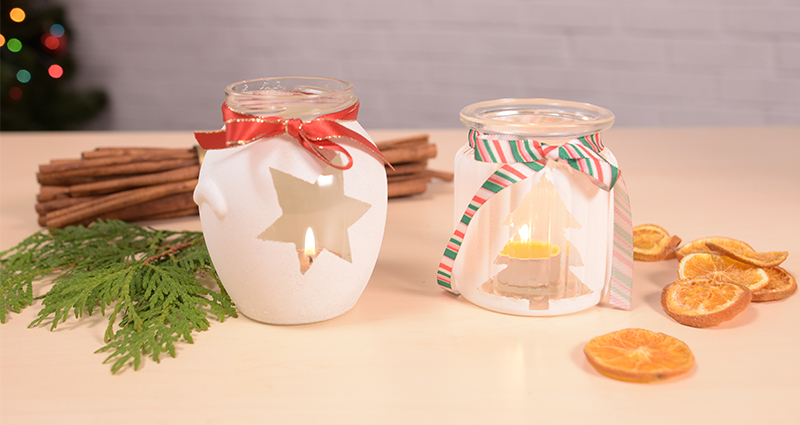
How to make a snowy Christmas lantern?
1. Prepare a decorative jar - wash it and dry.
2. Create a pattern out of a painting masking tape on it.
3. Prepare acrylic paint and a kitchen sponge to paint the jar.
4. Squeeze some paint on a paper towel. Then, gently dip a sponge into it and sponge paint the jar's surface.
5. Once the jar is dry, put a tealight candle into it.
6. Tie the upper part of the jar with a decorative ribbon.
7. Your DIY Christmas lantern is ready!
3. Mini Christmas Trees made of ribbons and beads
What do you need?
- colourful fabric ribbons
- decorative beads
- a needle
- a colourful thread (preferably floss)
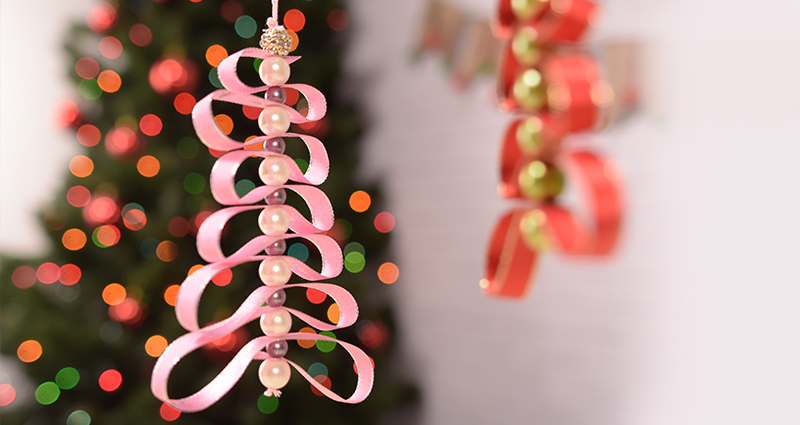
How to make mini Christmas trees made of ribbons and beads?
1. Cut a piece out of a ribbon - remember that the size of your Christmas tree will depend on its length.
2. Thread the needle with colourful floss.
3. Next, in turns, string colourful beads and the ribbon.
4. First, stick the needle in the ribbon's end, string the bead and then, stick the needle in the ribbon again.
5. Remember that you have to assess for yourself where to stick the needle for the second time - the idea is to make a Christmas tree frame.
6. Repeat the procedure until you create a Christmas tree. However, decrease the size of tree branches every time you stick the needle in the ribbon.
7. Remember that the last bead should stand out. After all, it's the top of your Christmas tree!
8. In the end, tie a loop and enjoy your DIY beautiful mini Christmas tree!
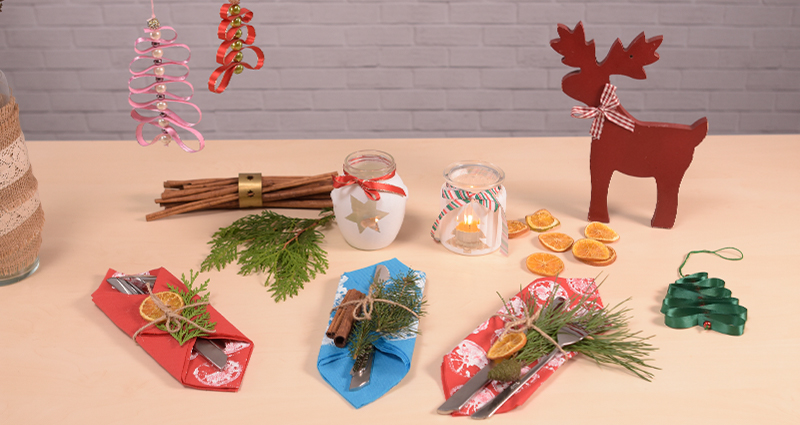
So, what do you think of our inspirational video tutorials? Now it’s time to search your drawers, collect all necessary materials and… let’s do this! Do these decorative cuties yourselves! Experience for yourselves the joy at them during upcoming Christmas!
P.S. Don’t forget to subscribe to our Youtube channel where, from time to time, you will find a new dose of inspirational videos. Let yourselves be inspired everyday!