How to take nice and inspiring photos with a smartphone? 11 tips
by Julia, 05 Mar 2019
For most people smartphones are an inherent part of their lives. Most of the time we carry it with us because we want to be in touch with others. In reality, being able to make calls is one of many functions a smartphone needs to offer nowadays. It's an incredibly universal tool which can be used for both, work and entertainment – e.g. taking pictures!
An interesting photo opportunity might occur at any place and moment – during a bus ride, jogging or walking your dog. It's worth looking at the world in search for photo opportunities and amazing takes, just observe and analyze. It will make your perception much better. You may ask how is it possible to take a good and intriguing photo with a regular smartphone. Is it possible? Of course it is! Check out our advices!
1. Choose the appropriate composition
If you want your pictures to be interpreted clearly and in consequence for others to like them remember about the basic cropping rules. There are lots of them, however, it's worth to start from the basics – the rule of thirds. We mentioned it in our previous post about mathematics in photography (you can find it here).
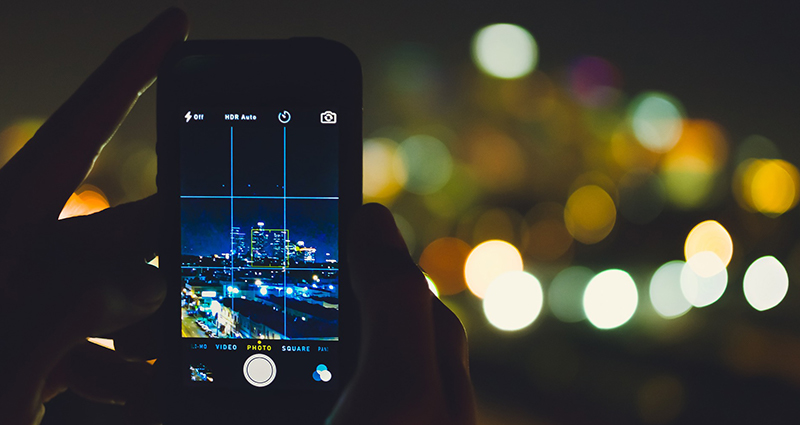
What's more is that most of the smartphones available on the market have the grid mode installed in the camera app from the beginning. Check if your phone has an option like that and don't be afraid to use it. It will help you to take good photos in which an object is located slightly to one side or one of the corners.
Crop your photos before you take them and try to balance the vertical and the horizontal lines. Show some surroundings as well. Shots in which everything is squeezed in together are not pretty nor do they tell a story. No matter if you're taking a photo of an object or a person let them breathe. Make sure that there are many interesting elements in the photograph such as pedestrians, close-by buildings, still life. Don't forget that the form of the photo should be clear and easy to understand. You can achieve such effect if the main object fills the biggest part of the photo.
2. Keep the horizon straight
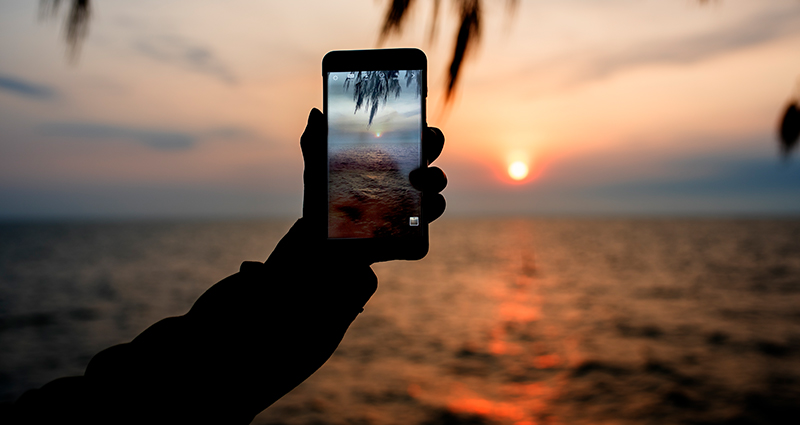
One of the most important advice in photography is that photographs of the horizon need to be straight. While taking a photo remember that the trees grow upwards and the river flows horizontally. If we take the photo in a tilted position then the nature of the photographed object might be questioned. Make sure that the horizon line is kept in check with one of the horizontal lines. To achieve such effect you can use the grid in your smartphone or, even better, think about the rule of thirds.
3. Take photos from the worm's-eye view
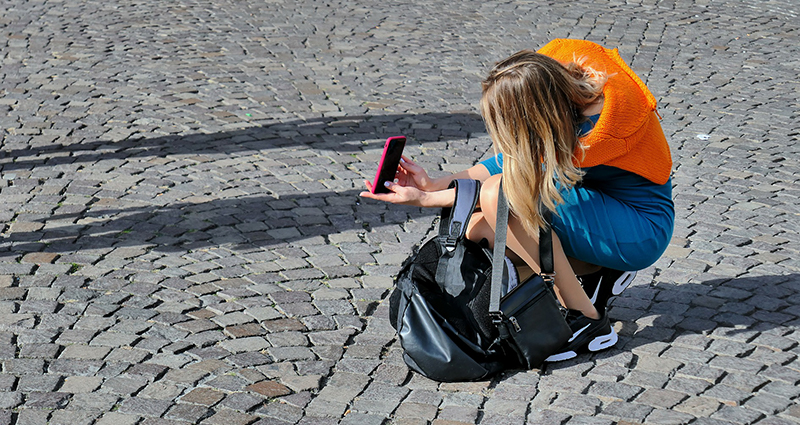
Another idea for taking photos with a smartphone is to take them from the worm's-eye view position. Instead of taking a photo from your eye level (the phone kept upwards or slightly tilted down) try taking them from the ground level (the phone kept upwards). The worm's-eye view position is great for taking photos of a landscape, architecture and other creative shots.

Of course it’s not a good idea to use the worm’s-eye view position every chance you get. A portrait taken in this position might end up looking weird but maybe you’ll be able to bring out an element that would be impossible to bring out with any other method.
4. Look for good light...
Smartphones are able to handle taking photos in the sunlight perfectly. They are getting closer and closer with the quality of taken photos to the ones taken with reflex cameras. Their sensors are becoming difficult to tell apart megapixels wise. It’s worth noting, however, that they are still light years apart when it comes to photos taken in low light conditions. That’s when the noise and grain might appear or the photo might appear out of focus. That’s why it’s best to take photos with a smartphone in the daylight. If it’s impossible then you’ll need to put more light on the object you’re about to take a photo of by getting closer to a window or… simply waiting for better light conditions.
5. …but avoid too much exposure
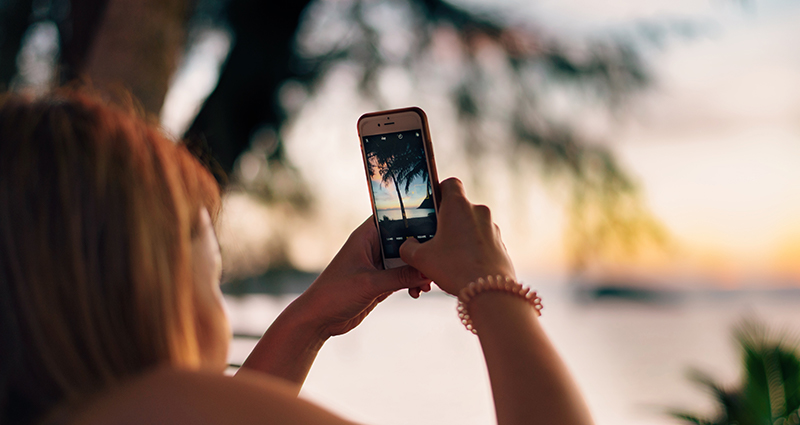
Photo by Ragnar Vorel on Unsplash
Even though the light is important you should avoid too much exposure on the face of the photographed person. Don’t take a photo at noon when the light is the strongest. The model might have dark shadows on face and the facial features will become too sharp. Smartphones have the tendency to overexpose the bright areas of a photo.
Another thing is a photo taken against the light. When it comes to the basics you probably know that a photo should be taken “with the light” and not “against the light”. Sometimes it’s worth making an exception. :) You can knowingly take a photo against the light to achieve some effect, e.g. the outline of the character or the so called flare.
Remember that there are many smartphone which allow you to change the white balance. Try to use it to adjust the light conditions of the surroundings. Use the white balance which will make the colors of your photo more realistic.
6. Try not to use the flashlight
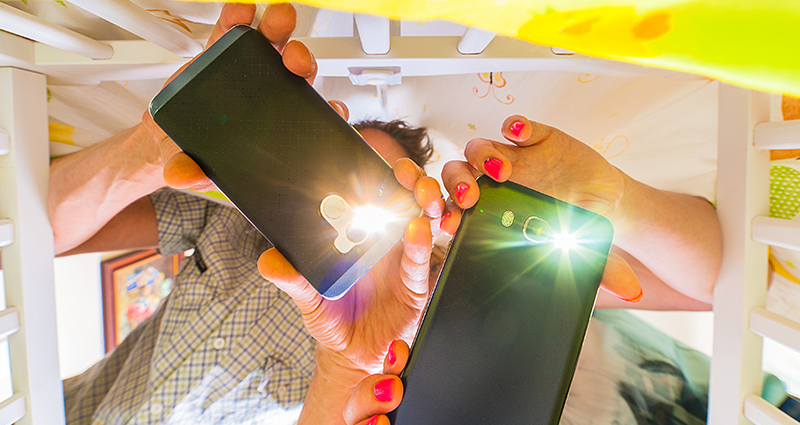
Unfortunately, even though the smartphones are incredibly intelligent devices they don’t allow to control the direction of the flashlight’s flash. You need to remember that if you decide to use a standard flash your photos might come out flat or overexposed (too bright), the model might have an overexposed face and red eyes. ;) Try not to use the flashlight built into your smartphone and if you need to do so try to diffuse its using a white piece of paper which will work as a light diffuser.
7. Appropriate stability is a must
If you wish to take steady photos then you need to take care of an appropriate stability for your device. Sometimes it’s enough to stand with your legs apart, hold the phone with both of your hands and don’t move, or even hold your breath, while taking a photo.
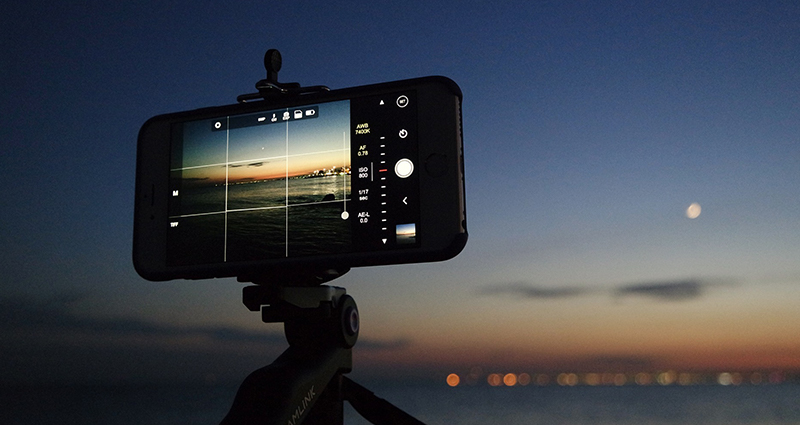
It’s a better idea to use a tripod or rest the phone on a stable surface and take the photo with a self-timer. This way touching the screen or the shutter won’t create any unnecessary movement while taking a photo. A smartphone tripod? It sounds quite exotic, however, there are miniature tripods available on the market. These miniature tripods allow you to keep the phone still in a steady position for a longer time, e.g. while taking photos of landscapes or night photos with long exposure time. Maybe it’s an alternative for you?
8. Try not to use digital zoom
It’s a normal thing that we want to use different functions of the smartphone while taking a photo with it, even if it’s not beneficial for the photo itself. One of such functions is the digital zoom. Even though it’s praised by manufacturers in reality it’s just a zoom in and enlargement and very often stretching of the taken photo. Unfortunately it’s connected to the lowering of the photo’s quality. That’s why sometimes it’s better to walk closer to the photographed object or take a photo without cropping and later on crop it using a photo editing tool.
9. Experiment with your smartphone’s modes
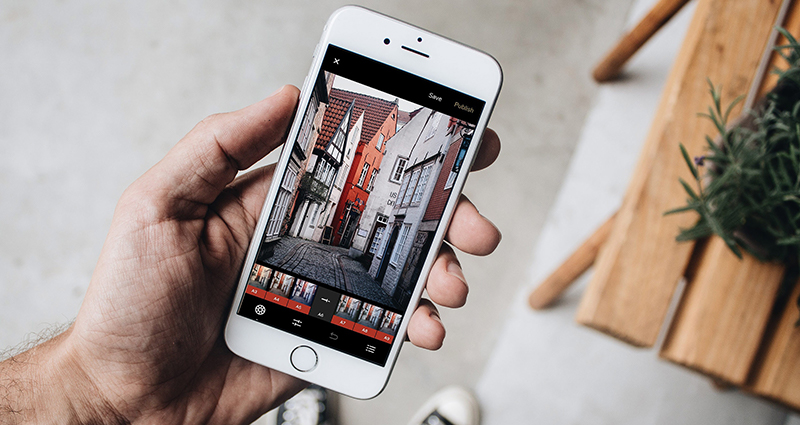
Photo by Le Buzz on Unsplash
Many smartphones have additional modes which are supposed to help with taking better photos. Don’t be afraid to use them. The light painting mode will be a perfect fit for a nighttime photography, the HDR mode will allow you to take a photo of even the most contrastive scenes and the macro mode will be best while taking photos of small fauna and flora. It’s very convenient and will allow you to use the potential of your smartphone to the fullest. ;)
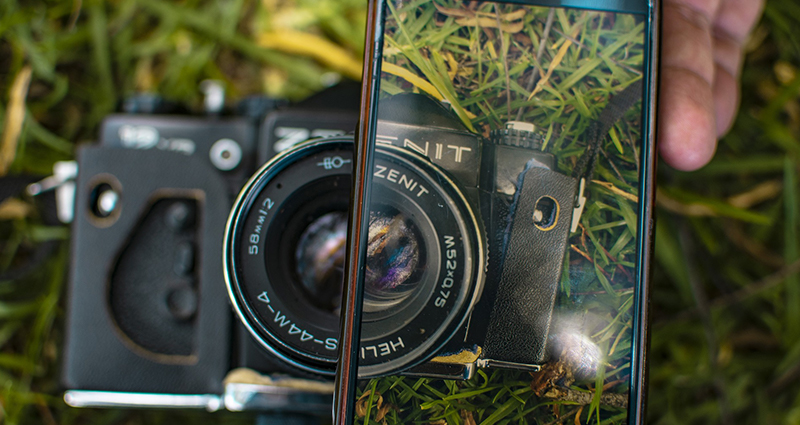
If you’re not a fan of the modes offered by smartphones remember that you can always use a photo editing tool that will allow you to bring out what’s best from the photos.
10. Oops, it’s your finger!
It happens even to the best photographers. While photographing (no matter if you use a smartphone or a traditional camera) watch out where you keep your finger. You don’t want a wonderful shot to get wasted because of such a small thing, do you?
Another issue that might negatively reflect on your photo’s quality might be a dirty lens in your camera or your smartphone. When it’s more than enough to wipe it with a dry microfibre or cotton cloth. It’s good to make it a habit after taking every picture with your smartphone.
11. Save your photos on an SD card
Smartphone is just a device. It can break or fall down the stairs. Breaking an SD card by mistake is rather impossible so if you do have such possibility then choose your SD card as a default place to save your photos. It would be a pity to lose all these beautiful takes. If you don’t like that idea then think about saving your photos in a cloud.
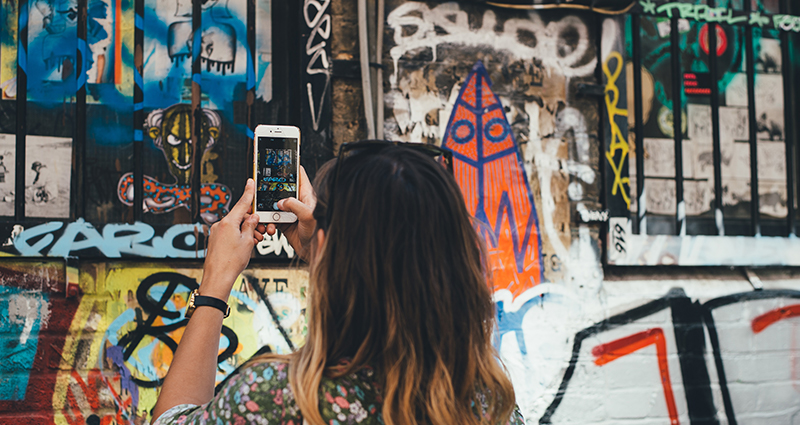
Photo by Annie Spratt on Unsplash
We hope that our advice will be not useful but also inspiring for you! And now, take that smartphone and get to work! Look for your own style and put your odds on diversity. Try different compositions, color effects, perspectives, etc. We’re very curious about the effects of your work so we’re highly encouraging to share your works with us by tagging us on Instagram or Facebook!
P.S. We invite you to read another one of our articles about how to take photos with a smartphone. In that article, we give advice and inspire how to take photos with a smartphone in summer. You’ll find it here.